Departments
Process Objective#
You can set department data for completing users record.
Overview#
Companies usually have several departments to deal with specific subjects and users might be the part of them. Therefore, we made the department as one of the fields in the create user feature. Information about the department may be useful to users.
Features and Functionality#
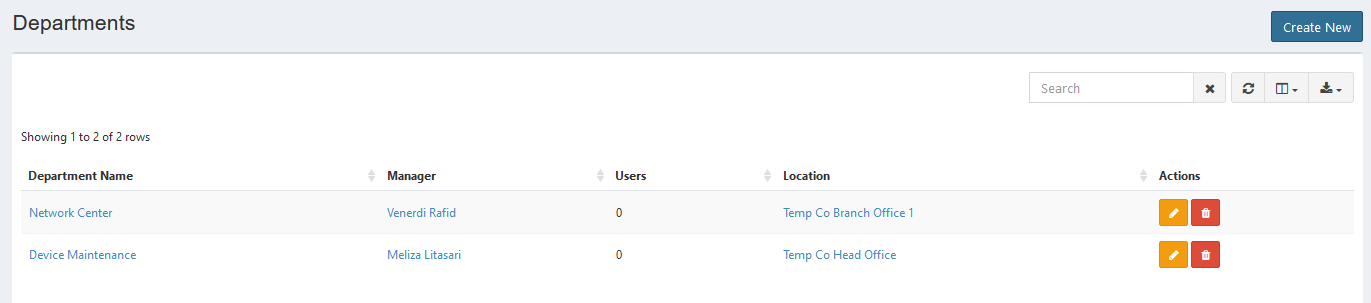
Here is the Departments interface:
Create New Departments#
You can create new department.
STEPS
- Press the Create New button on the top right corner of the tab.
Here is the Create Department interface:

- Enter department name.
- Select manager.
- Select location.
- Upload image. Click the Select Image button, then select the images you want to upload from your local. See the instruction before uploading.
- Click Save button to finish your record.
- Click Cancel button to cancel your record.
- Click Back button to go back to the previous page.
Update Departments#
You can update your departments record by clicking the update button in action column. The steps are the same with create new department.
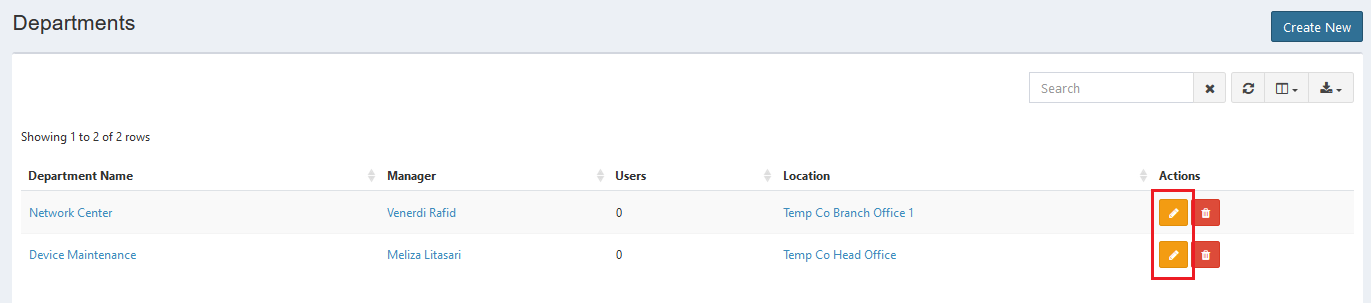
Note: You must have an access from administrator to update it.
Export#
You can export departments records to CSV, MS-Excel, MS-Word, TXT, JSON, XML, and PDF by clicking the export icon, then select export format.

Set Column to Display#
There are 3 columns in departments tab. You can select what columns to display here by clicking the column icon, then checklist the columns.

Refresh#
Click the refresh icon, and your record will be refreshed.

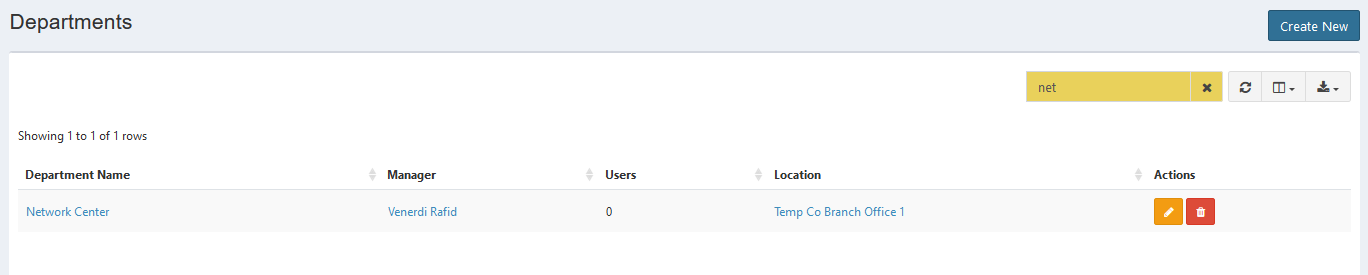
Search Departments#
You can search your departments record by typing in search field beside refresh icon. The system will automatically show the result. Click the close icon next to search field to cancel your search.
Delete Departments#
You can delete department record by simply clicking the delete icon in action column.
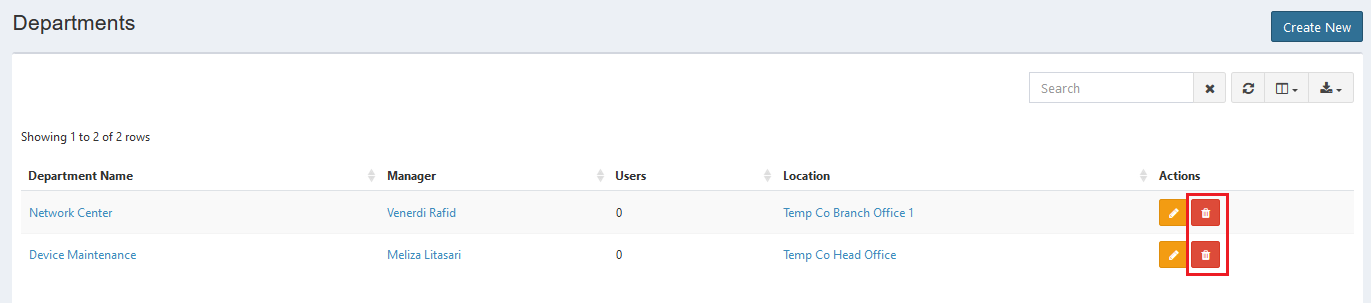
Note: You must have an access from administrator to delete it.
Error Message#
- This is required field.

To save the record, you must fill the required field.
- Accepted filetypes are jpg, webp, png, gif, and svg. Max upload size allowed is 8M. Upload is file size MB.

Your uploaded image is too large. Upload image with 8 MB size or below.
- 403 Forbidden.
Just like what explained there, this error will appear when you are not authorized to access certain feature. Contact the administrator to give you permission.
Confirmation Messages#
- Are you sure you wish to delete department Name?

This confirmation message will appear when you click the delete button. Click Yes button to continue or click Cancel button to cancel.