People
Process Objective#
People enable user to manage user records & permissions.
Overview#
People is the features to manage user records & permission. You can also manage multiple user records at once with bulk feature.
Features and Functionality#
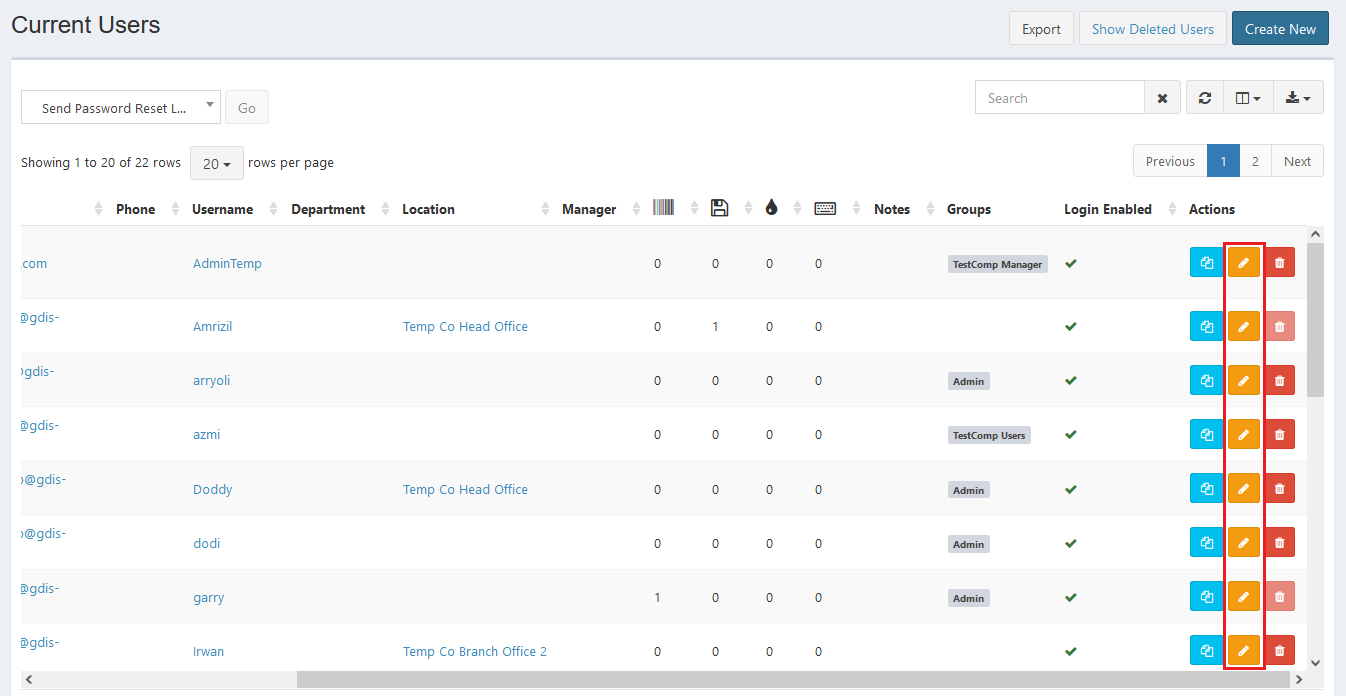
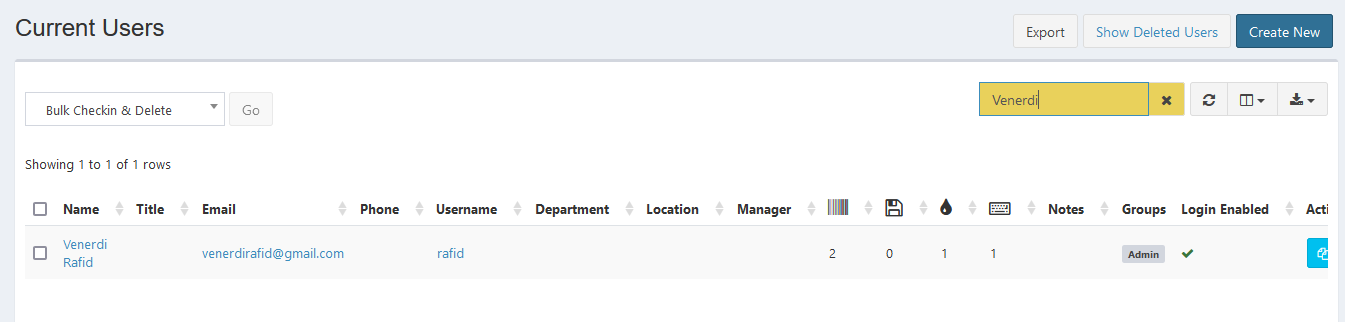
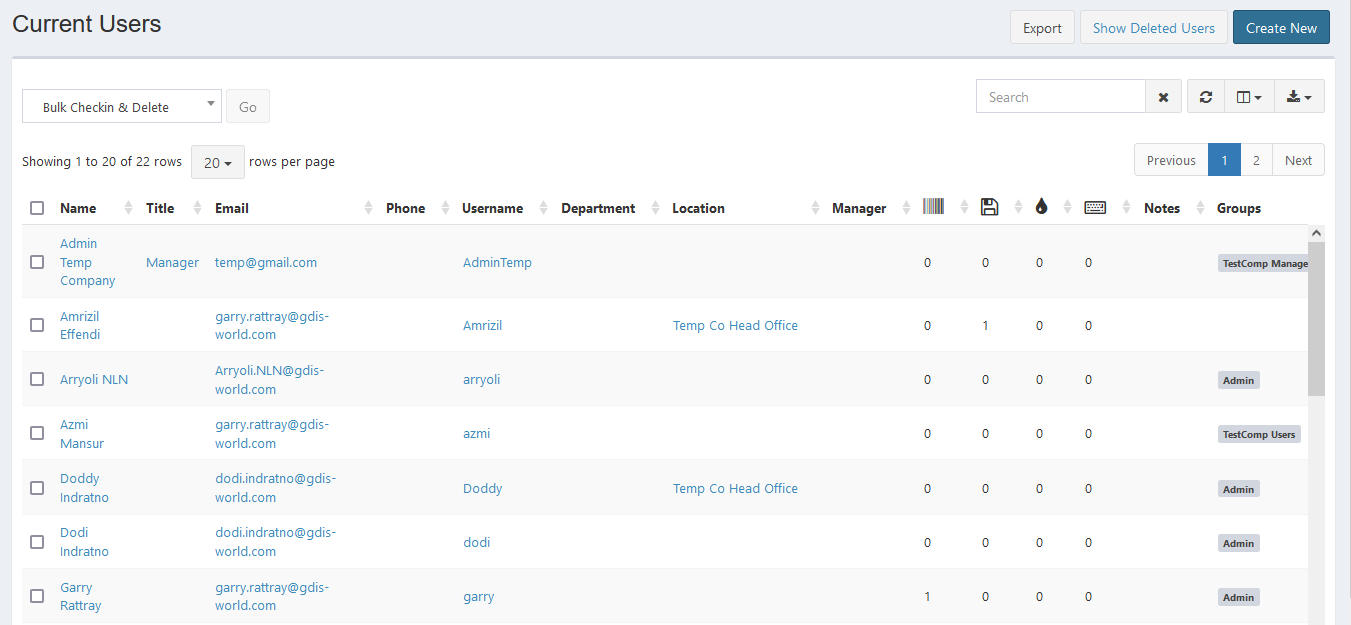
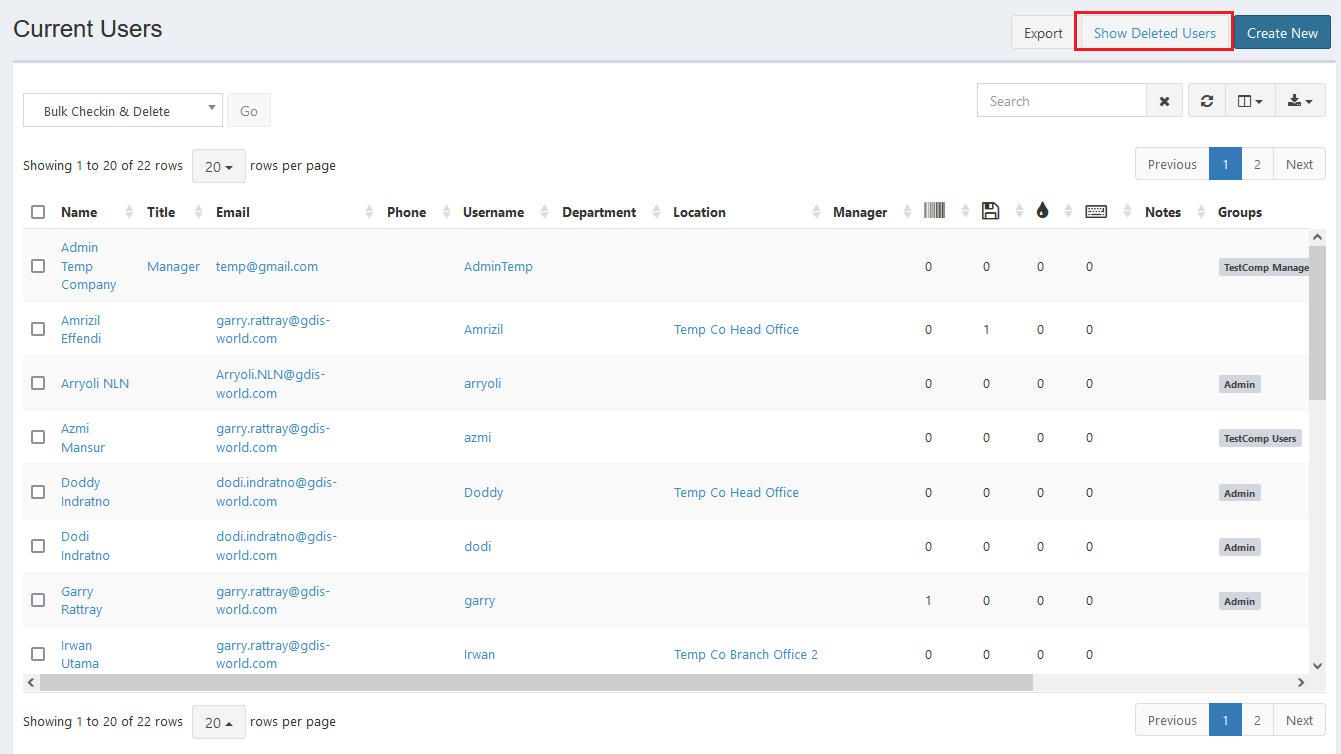
Here is the Current Users interface:

Create New Users#
You can create new user.
STEPS
- Press the Create New button on the top right corner of the tab. There are 2 tabs in Create User page, Information and Permission.
Here is the Create User Information tab interface:
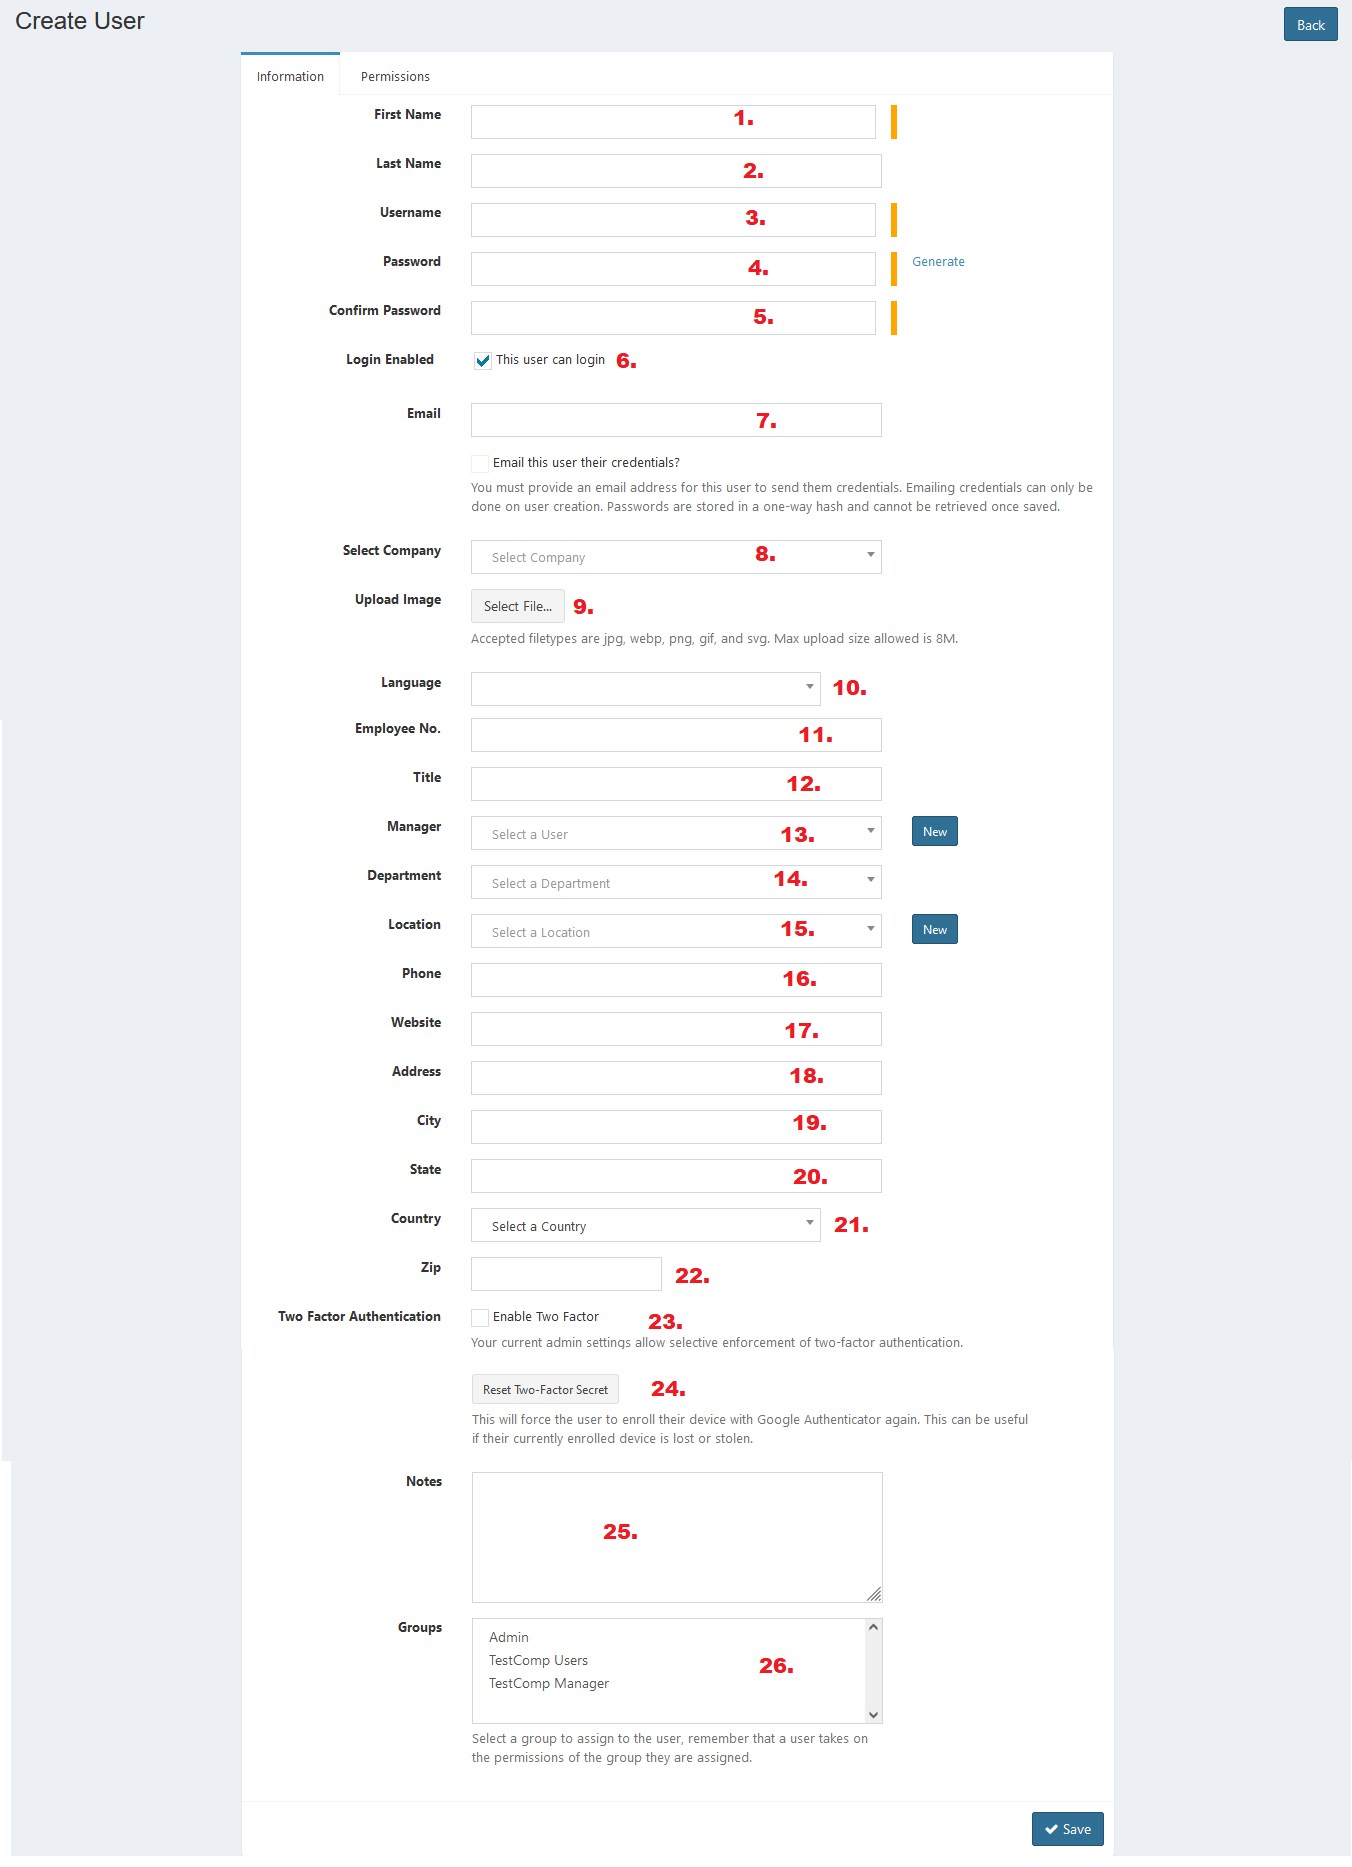
- Enter first name.
- Enter last name.
- Enter user name.
- Enter password.
- Enter password confirmation.
- Click the box to enable user to login.
- Enter email.
- Select company.
- Upload image.
- Select language.
- Enter employee no.
- Enter title.
- Select manager.
- Select department.
- Select location.
- Enter phone number.
- Enter website.
- Enter address.
- Enter city.
- Enter state.
- Enter country.
- Enter zip code.
- Check the checkbox to enable two-factor authentication.
- Click the button to reset two-factor secret.
- Enter notes.
- Select group.
And here is the Create User Permission tab interface:
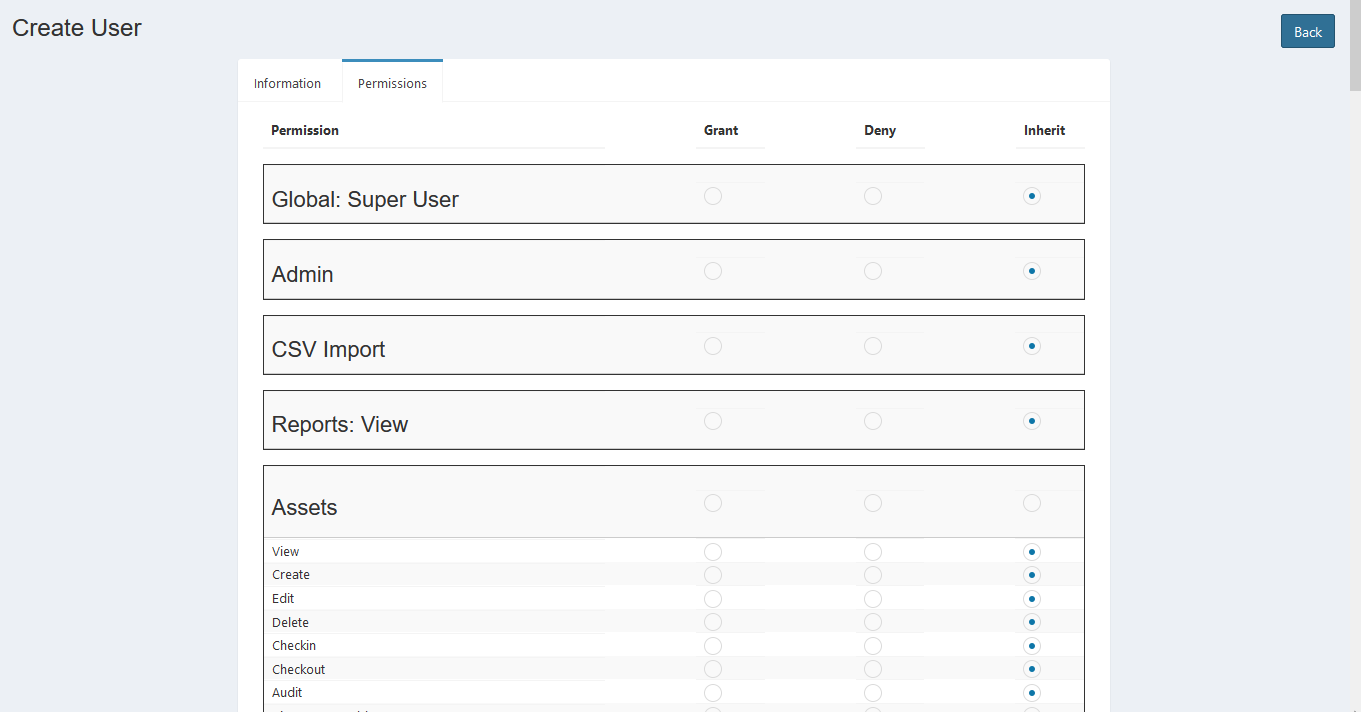
You can select users access permission to every features in ProTag.
- Click Save button to finish your record.
- Click Back button to cancel and go back to the previous page.
Update Users#
You can update your users record by clicking the update button in action column. The steps are the same with create new users.
Export#
You can export users records to CSV, MS-Excel, MS-Word, TXT, JSON, XML, and PDF by clicking the export icon, then select export format.

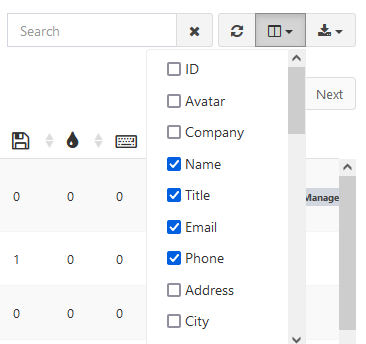
Set Column to Display#
There are 29 columns in users tab. You can select what columns to display here by clicking the column icon, then checklist the columns.
Refresh#
Click the refresh icon, and your record will be refreshed.

Search Users#
You can search your users record by typing in search field beside refresh icon. The system will automatically show the result. Click the close icon next to search field to cancel your search.
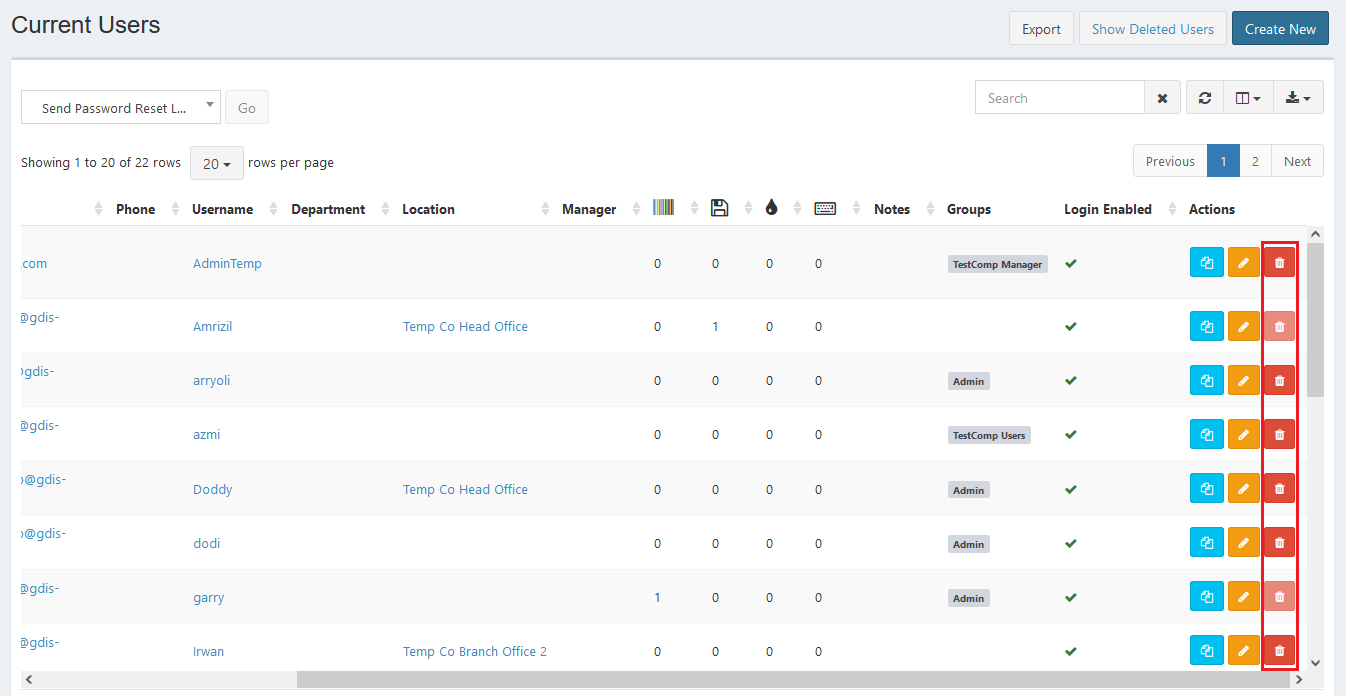
Delete Users#
You can delete users record by simply clicking the delete icon in action column.
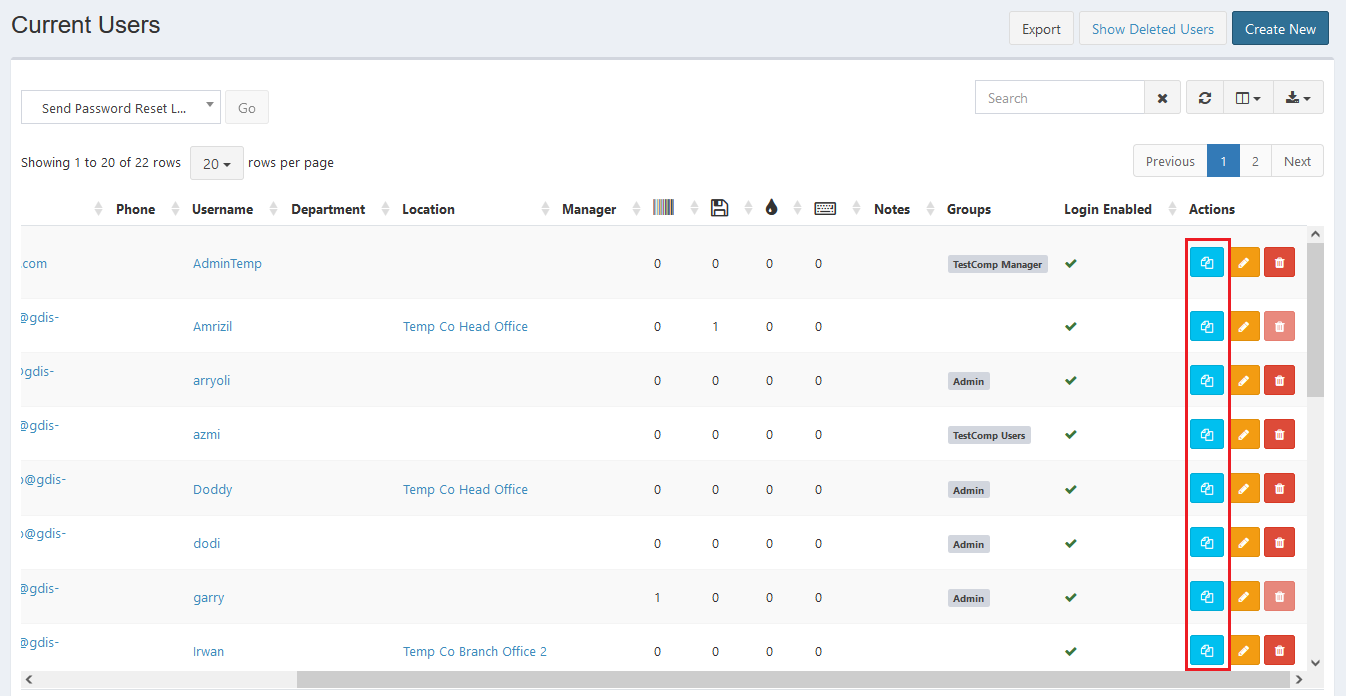
Clone Users#
You can create new user by simply cloning all the records from existing user and give a little changes (especially the first name). Click the clone icon in action column, and the steps will be similiar with create or edit user.
Set Row to Display#
Set row to display feature will automatically appear when the number of records in a page is more than 10.
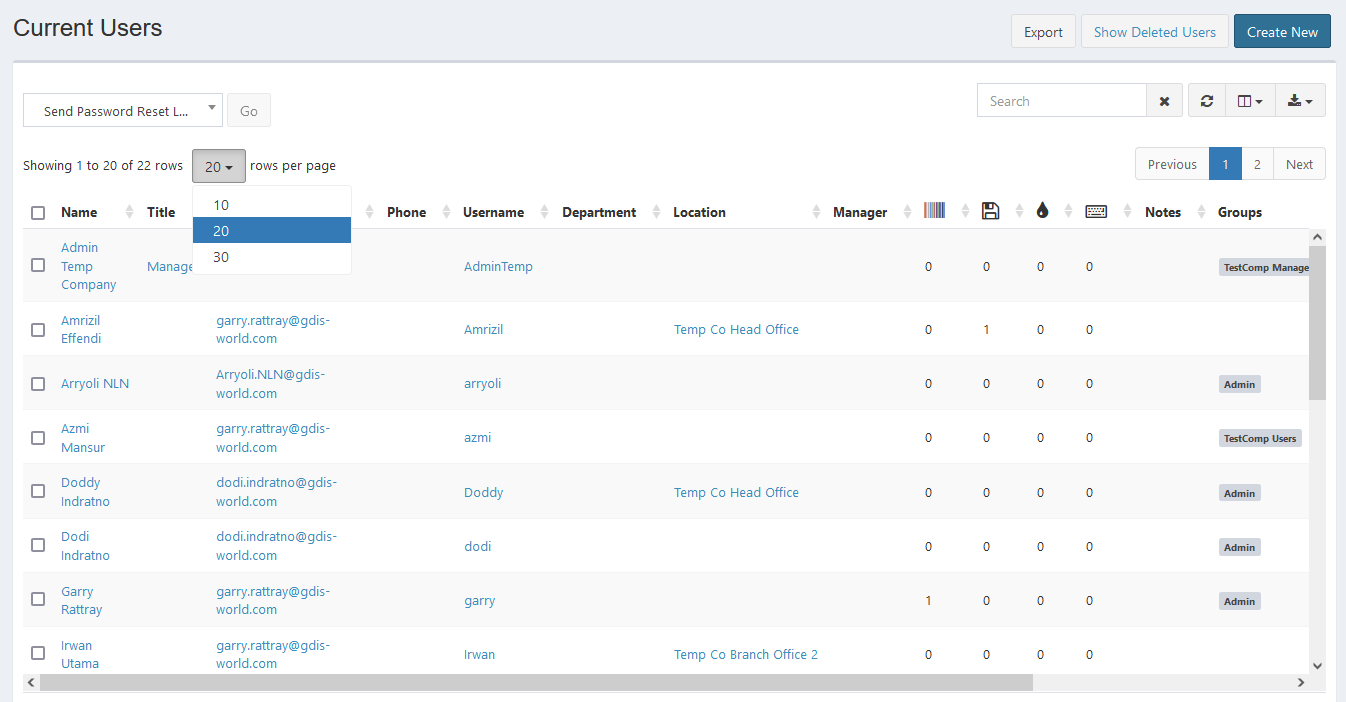
- Click the row number button, and choose the following 3 choices: 10 per page, 20 per page, and 30 per page.
- The blue numbered box displays your current page. Click any available button to access the other rows.
Bulk Edit#
You can edit multiple user records at the same time.
STEPS

- Check the checkboxes of the records you want to edit.
- Check the very top checkboxes to select all records.
- Click Go button and the bulk edit page will appear.
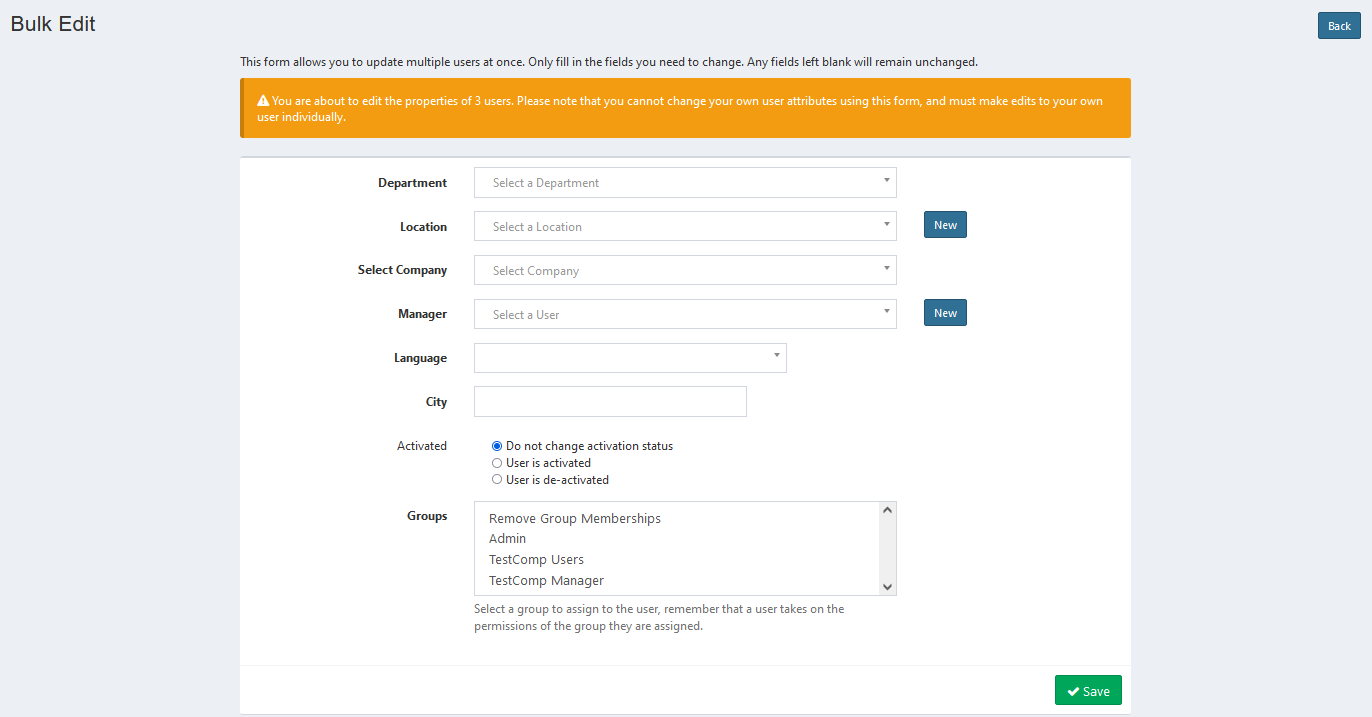
This form allows you to update multiple users at once. Only fill in the fields you need to change. Any fields left blank will remain unchanged.
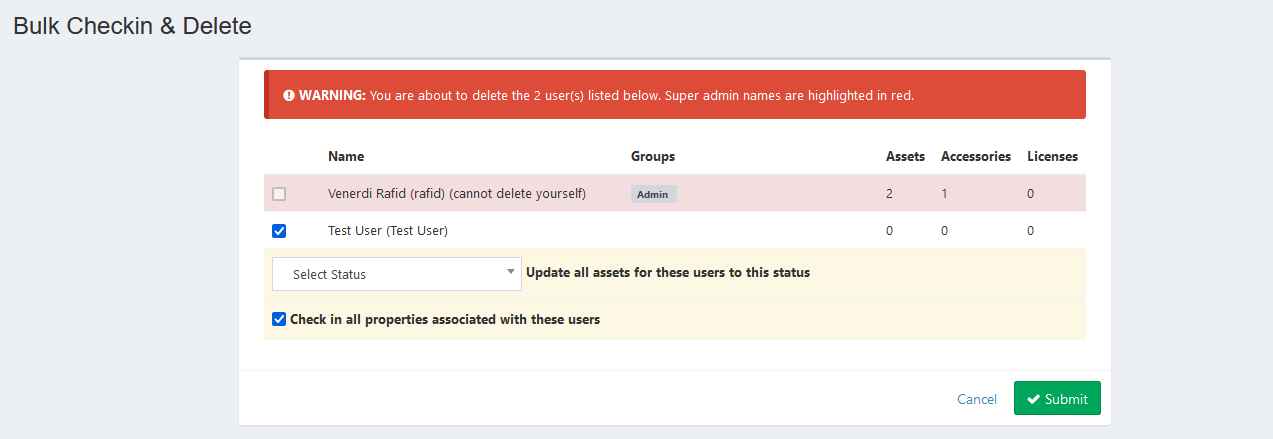
Bulk Checkin & Delete#
You can checkin all items assigned to multiple users and delete their records at once.
STEPS
- Check the checkboxes of the records you want to delete.
- Check the very top checkboxes to select all records.
- Click Go button and the bulk delete page will appear.
Read the instruction above for clear instruction, then click Delete button. All checked users will be deleted.
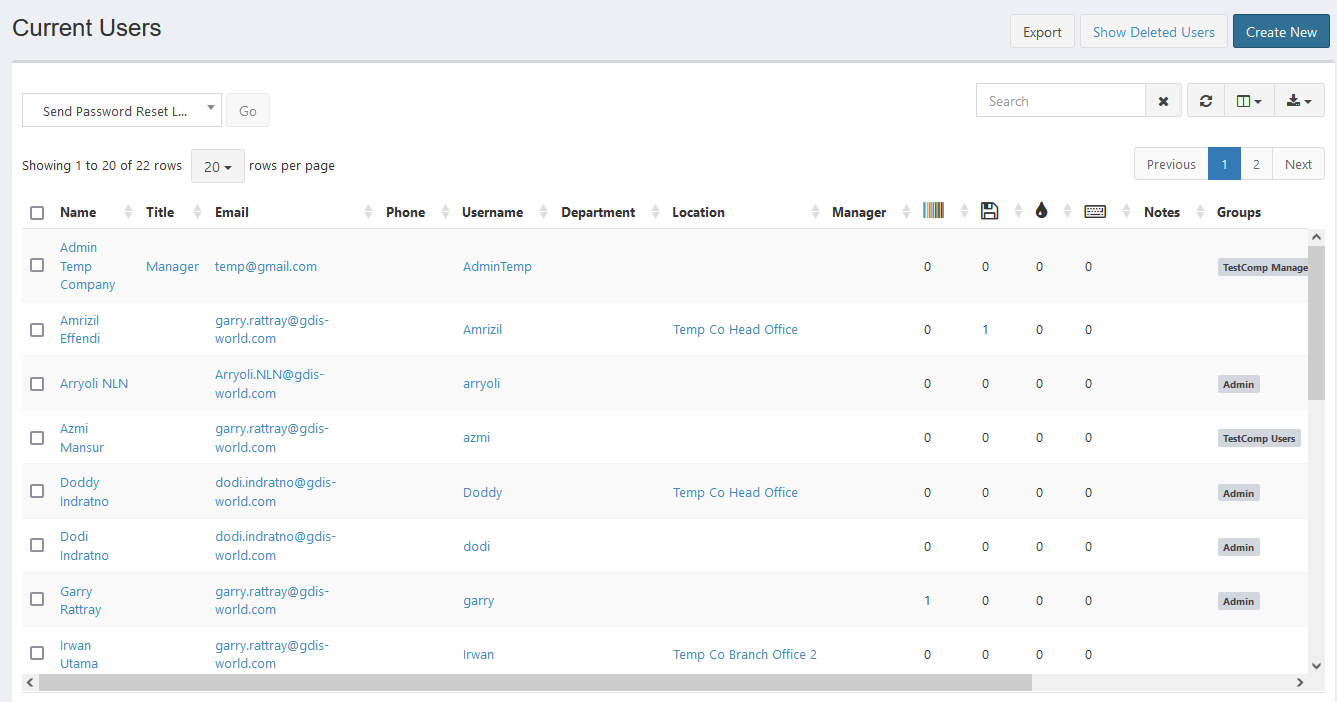
Send Password Reset Link#
You can send password reset link to multiple users.
- Check the checkboxes of the users you want to send.
- Check the very top checkboxes to select all records.
- Click Go button and the reset link will be sent to checked users.
View User#
You can access the complete information of a user and many features in it.
Here is the View User interface:

- View user tabs, click any tabs to see all information within.
- Upload image tab, click it to upload your user image
- Action tab, containing Edit User, Clone User and Delete button.
- Action tab, click it to acces any action which has been explained above to this user. As for the Print All Assigned button, it will print all items (assets, licenses, etc) record that are assigned to this user.
- Reset Two-Factor Secret button. Clicking it will force the user to enroll their device with Google Authenticator again. This can be useful if their currently enrolled device is lost or stolen.
Deleted User#
You can either restore your deleted user record, or permanently delete it.
STEPS
- Click the Show Deleted User button
Here is the Deleted User interface:
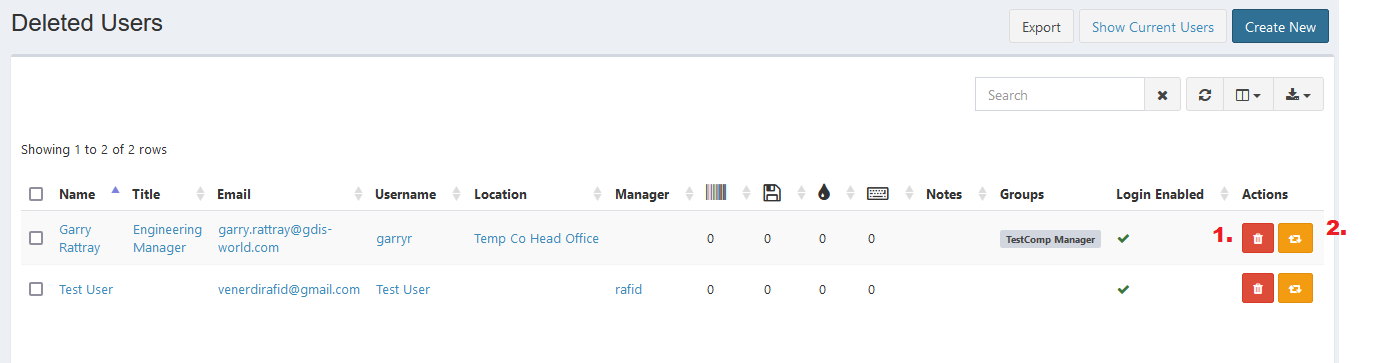
- Click the delete icon to delete user record permanently.
- Click the restore icon to restore deleted user record.
Error Message#
- This is required field.

To save the record, you must fill the required field.
- Accepted filetypes are jpg, webp, png, gif, and svg. Max upload size allowed is 8M. Upload is file size MB.

Your uploaded image is too large. Upload image with 8 MB size or below.
- The password must be at least 10 characters

You must enter at least 10 character foy your password.
Confirmation Messages#
- Are you sure you wish to delete User Name?

This confirmation message will appear when you click the delete button. Click Yes button to continue or click Cancel button to cancel.